Hardware:
All of the 3D printer pieces came with the printer. Unfortunately we do not have the information on those specs...but we still have a list of the materials we used!
- 3D Printer Kit
- 450 W power source (we stole ours from an old desktop tower)
- Solder/soldering iron
- Wire-cutters
- Wire
- Extruder
We first need to get a reliable power source. As I said, we took a 450W power source from an old desktop tower. We then took a 4-pronged clip (compatible with the REV D Printrboard) and cut/soldered on the power (Yellow)/ground (Black) wires to the clip. We then jumped the power by connecting the Green wire to any of the Black (ground) wires on the power source. A picture of this is below:
****Before plugging this into the Printrboard make sure that the power wires are in the configuration pictured below:

Now you must solder on the X, Y, Z, and extruder motors to the board. Do this with the power and USB cable unplugged. Use the diagram above. Make sure to also have the extruder thermistor plugged in or when you try and run the PronterFace program it will not work.
Next comes the extruder. The specific extruder we used is pictured below (and can be found here):

This extruder caused us a few problems. While the resistors heat up correctly, the extruder mechanism does not have the correct set-screw setup. Therefore, while trying to extrude, the gear, which is supposed to move the plastic, spins on its shaft. To fix this, we needed to create a flat spot on the motor shaft to which allowed the set screw to do its job nicely.
Another problem with the extruder is the resistor connection. We are currently using solder to connect the power to the resistor (pictured below), but when bumped dramatically the wires disconnect, effectively stopping the printer. We are working on fixing this and are currently using the fan mentioned above to keep the solder cool.
This is a picture of our final 3D printer, with all of the correct hardware modifications (we added an old computer fan to help with the cooling of the plastic).

Software:
This specific 3D printer runs using the REV D Printrboard from MakeMendel. This is an open source board with a number of available firmware downloads. We will be using the pre-downloaded Marlin firmware and board purchases from MakerFarm. Below is a list of the software need before starting this project:


- REV D Printrboard with Marlin (or related) firmware
- Pronter Face
- Slic3r
The software for this 3D Printrboard is very straight forward. We recommend using the preloaded Marlin firmware on the REV D board.
The images you create using CAD need to be converted into G-Code before the REV D can interpret and print it. To do this you will need to download Slic3r (above) and import your .stl file into the program. You will also want to first setup Slic3r correctly (we found this video very helpful) by setting the correct 3D printer dimensions, plastic diameter, extruder diameter, etc.
The program with an imported .stl should look something like this:

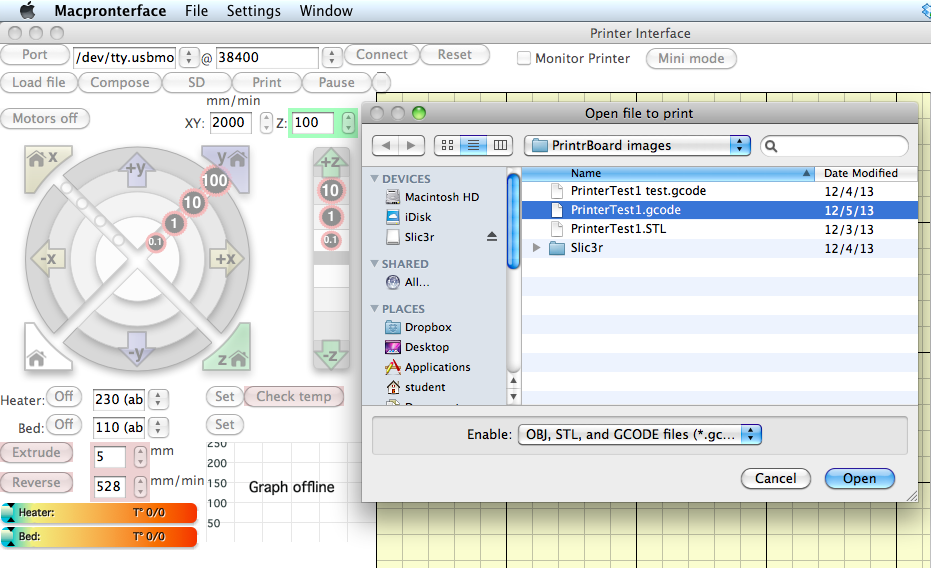
After exporting the G-Code from Slic3r, import it into Pronter Face. Again, here is a picture of what it should look like:
Next, connect to the REV D board by choosing the correct COM port.
Press Print and voila! You now have a working 3D printer.
No comments:
Post a Comment